

Setting up Zapier
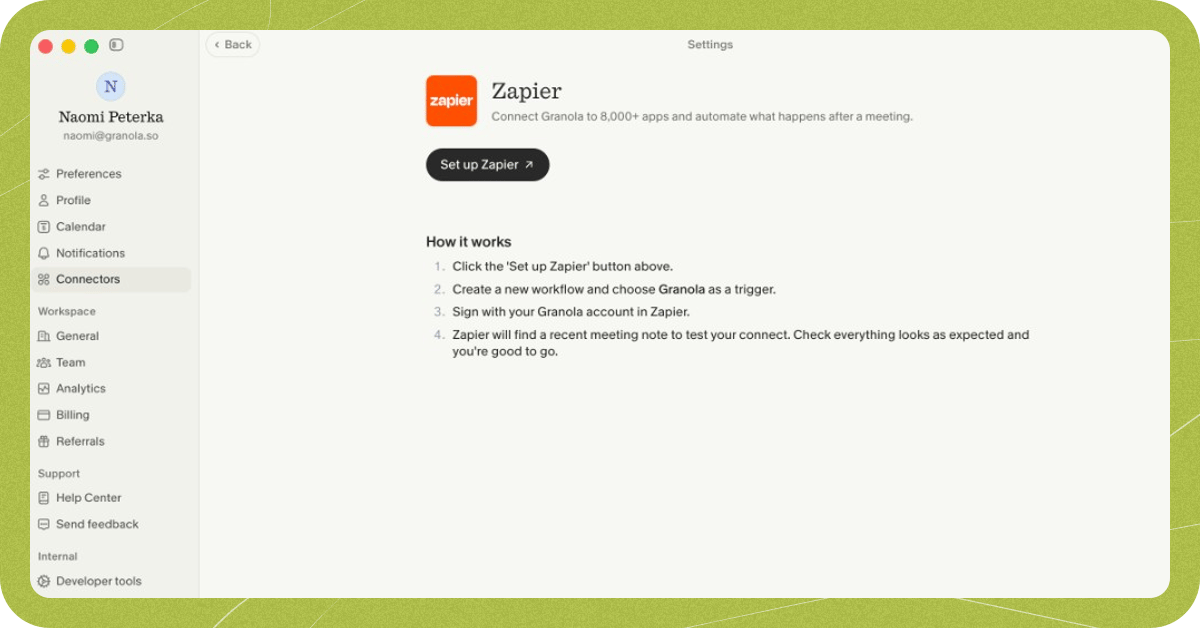
- Open Settings > Connectors > Zapier (click your workspace name in the bottom-left corner, choose Settings, then Connectors).
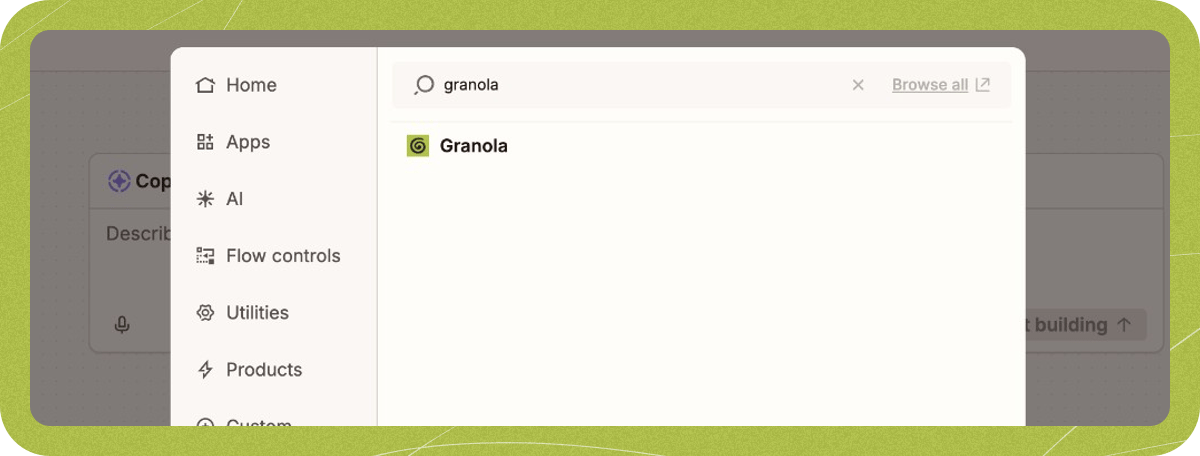
- In Zapier, search for Granola when choosing a trigger app.
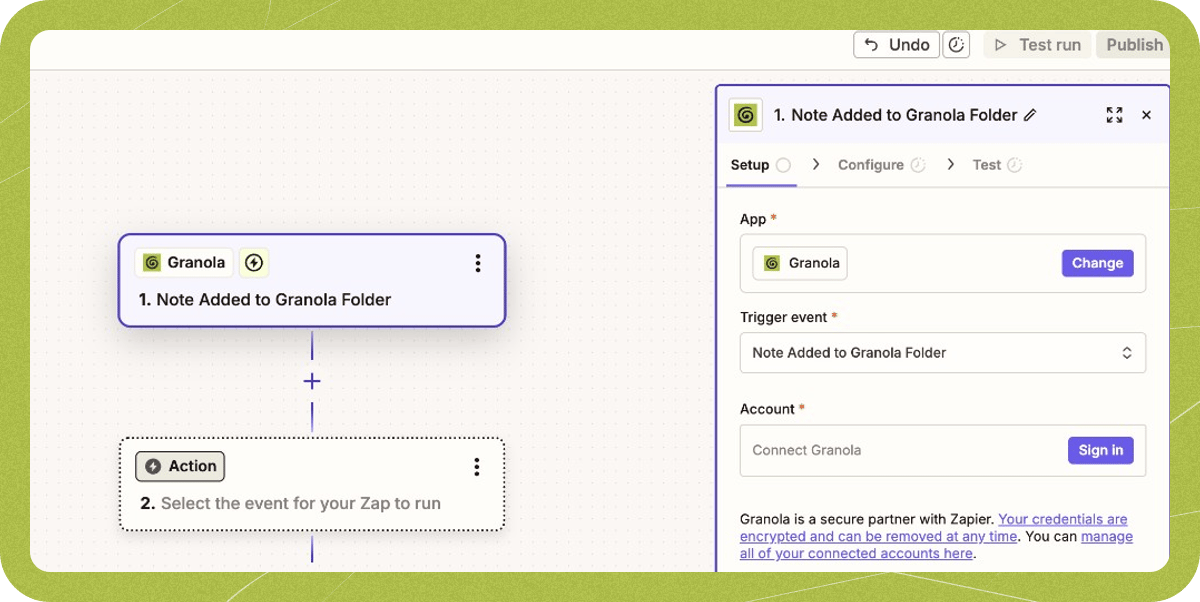
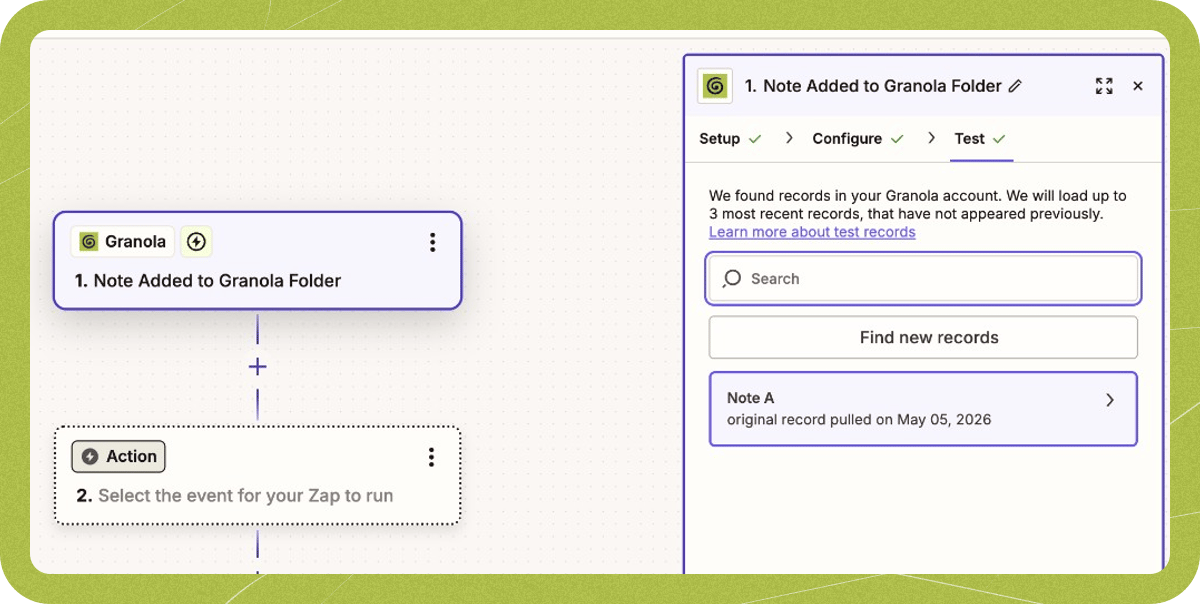
- Choose a trigger event:
- Note Added to Granola Folder: Triggers automatically when a note is added to a specific folder (applies to notes added after the Zap is set up).
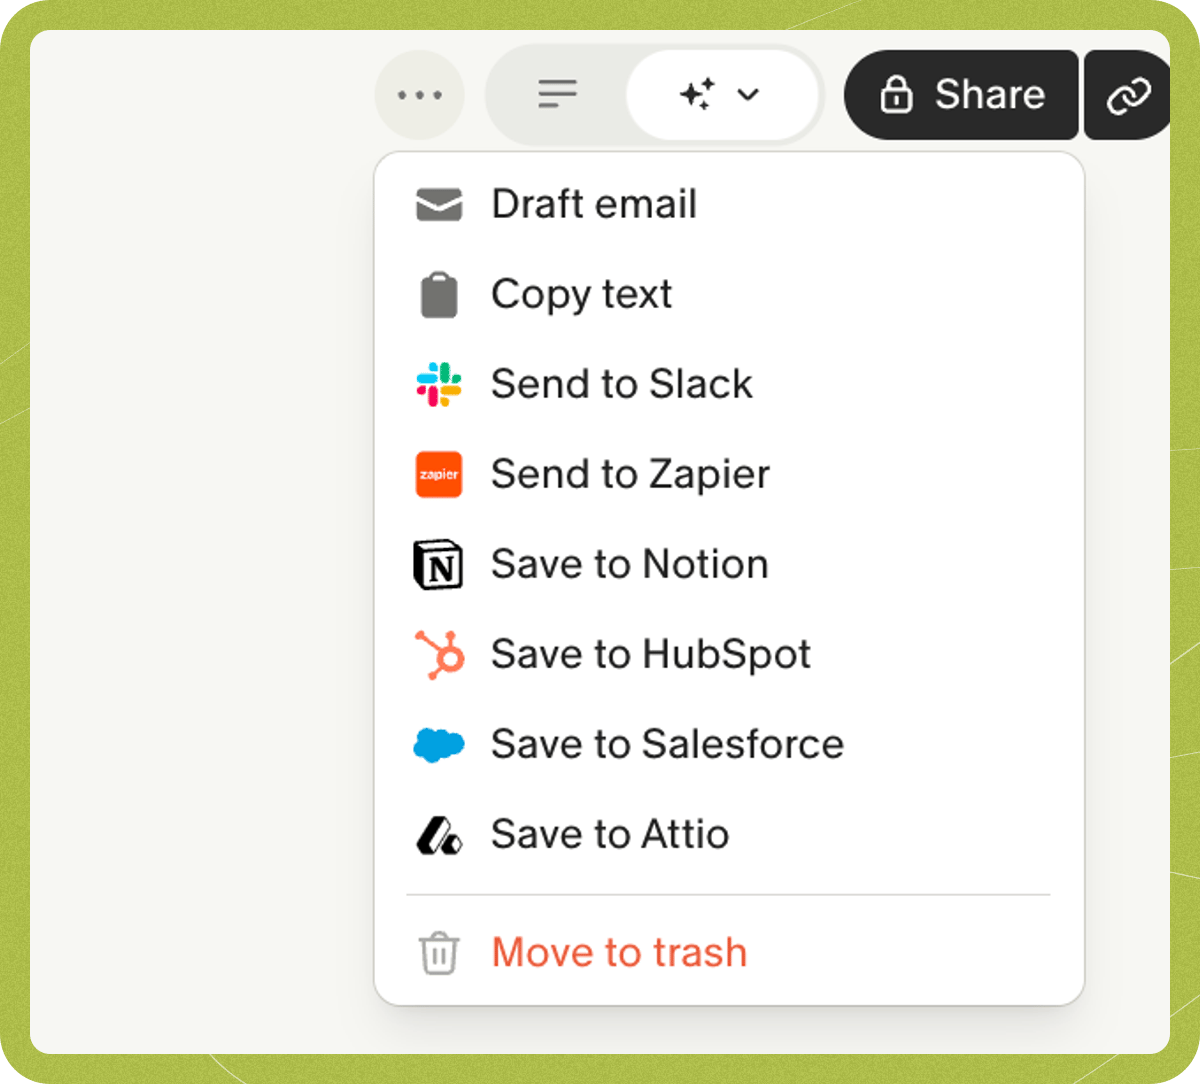
- Note Shared to Zapier: Triggers when you manually share a note using Send to Zapier in the three-dot (
...) menu at the top right of a note.
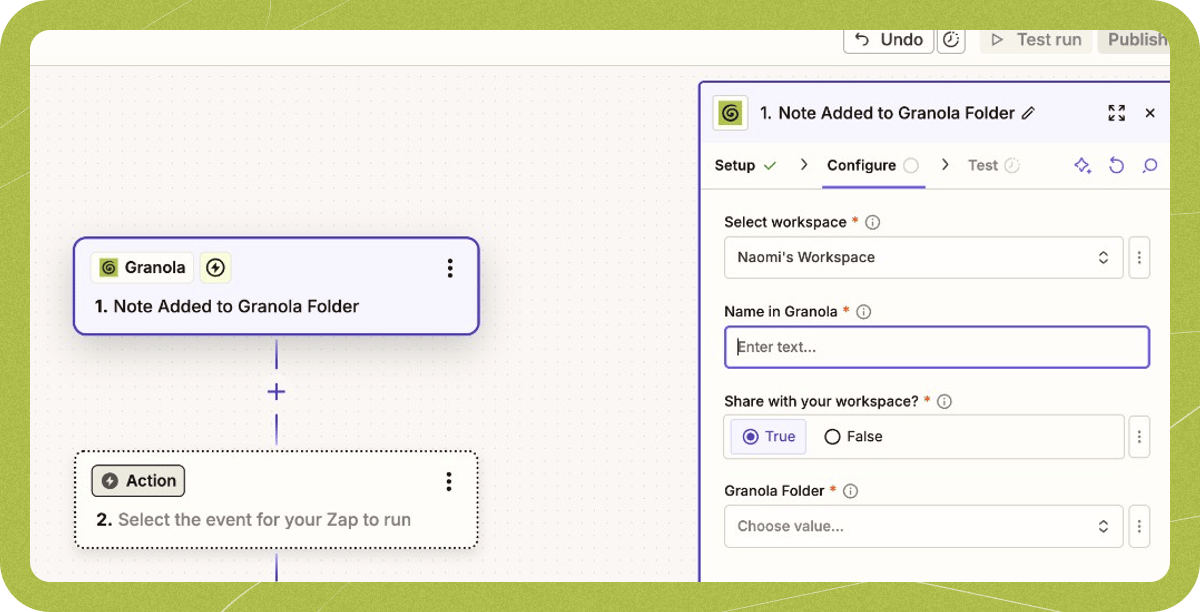
- Configure your trigger details:
- Name in Granola: Label shown inside Granola (for example,
Send actions to Linear). - Share with your workspace: Choose whether other workspace members can use this Zap.
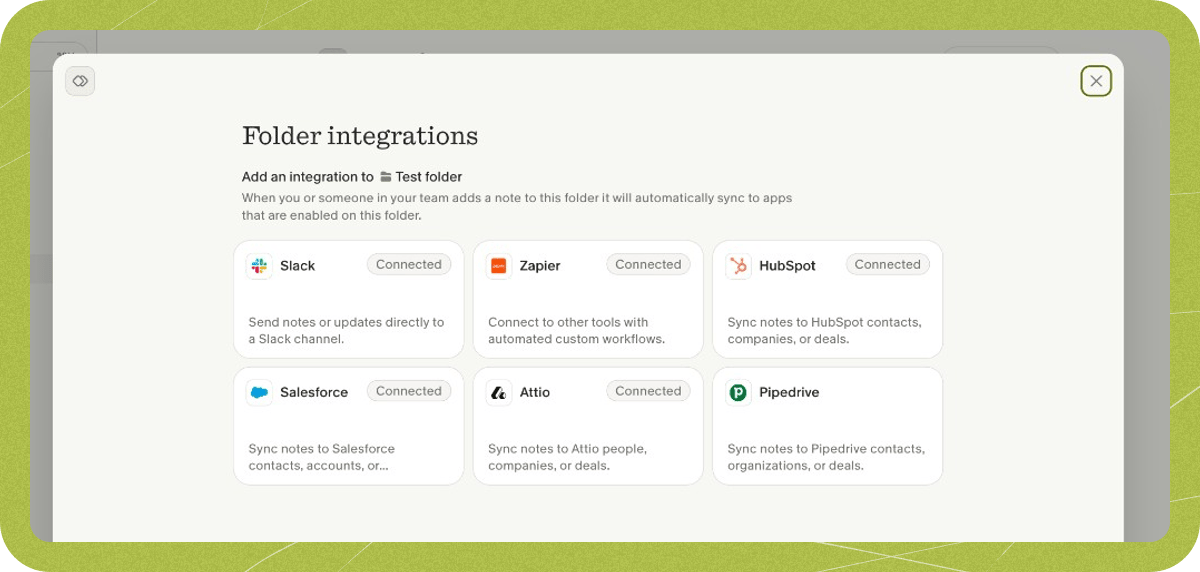
- Granola Folder: Select the folder that triggers the Zap (for folder triggers).
- Name in Granola: Label shown inside Granola (for example,
- Test the trigger. Zapier pulls up to three recent meetings so you can inspect the sample payload.
- Add your action apps (such as HubSpot, Salesforce, Attio, Slack, Microsoft Teams, Linear, Asana, or Greenhouse) and publish the Zap. For ready-made workflows, browse Granola templates on Zapier.
...) menu at the top right of a note:
Data sent to Zapier
When a Zap triggers, Granola sends a webhook payload containing:- Title: The meeting note title.
- Creator: Name and email address of the person who created the note.
- Attendees: Meeting attendees with name and email address.
- Calendar event: Linked calendar event ID, title, and start/end times.
- Personal notes: The private notes you typed during the meeting (not visible to other attendees).
- Summary: Your summarized notes in Markdown format.
- Transcript: The full meeting transcript.
- Link: A link to the note in Granola.
Troubleshooting
Zapier sync stopped working
Zapier sync stopped working
Check the following at zapier.com:
- Your Zaps are turned on. Zaps can be paused or turned off automatically; confirm each Granola Zap is active.
- Reconnect the Granola trigger. If you deleted and recreated a Zap or reconnected the integration, open the Zap editor and reconnect the Granola trigger.
- The right workspace is selected. Confirm the trigger points to the correct Granola workspace.
Zapier workflows not triggering for multiple workspaces
Zapier workflows not triggering for multiple workspaces
If you belong to multiple Granola workspaces, update each Zap to the latest version of the Granola integration:
- Open the Zap at zapier.com and select the Granola trigger.
- Accept the prompt to upgrade to the newer Granola integration version.
- Select your Granola workspace in the new required workspace field, then republish the Zap.
Folder not showing in Zap setup
Folder not showing in Zap setup
You must be a Collaborator or Owner of a folder to attach a Zap to it. If you currently have Viewer access, ask the folder owner to update your role in the folder’s sharing settings.