

Setting up your Zapier integration
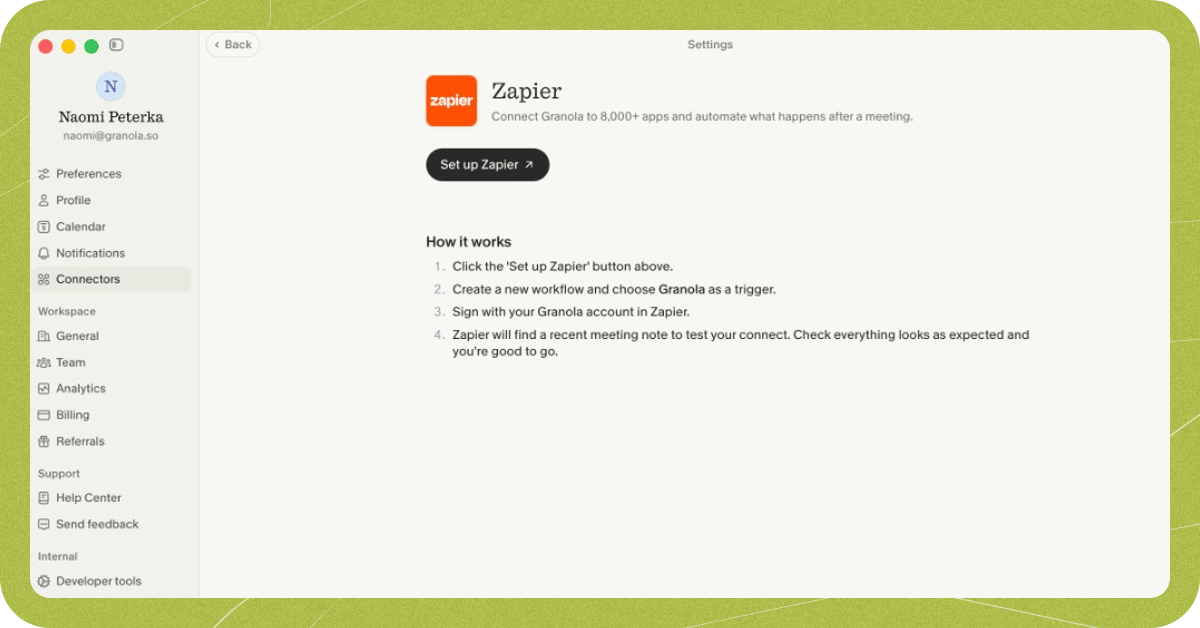
Turn conversations into Zapier actions in a few clicks, connect Granola to your existing workflows and set up your own custom automations to get things done. Zapier is only available for paid users, on our Desktop apps.- Set up Zapier from Granola settings
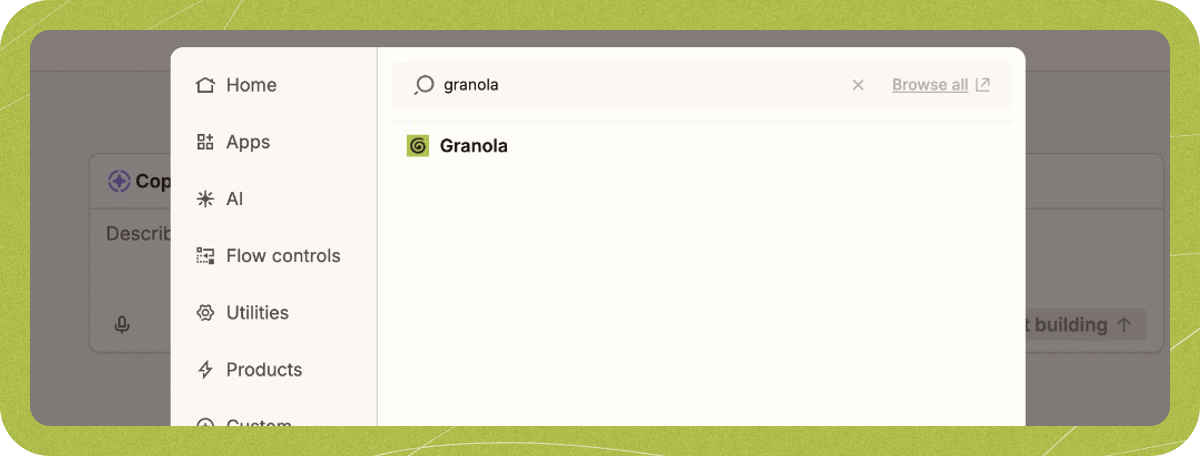
- Search for Granola in Zapier
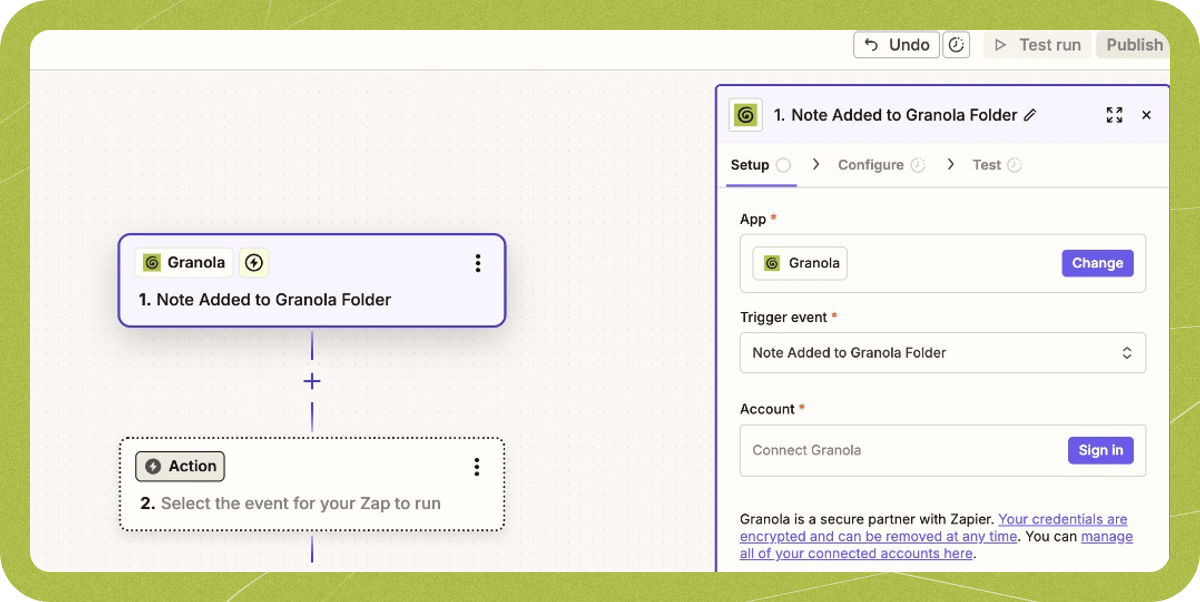
- Choose your trigger event
- Note Added to Granola Folder: Automatically triggers when a note is added to a specific folder. Note that this trigger only applies to notes added to the folder after you set up the Zap.
- Note Shared to Zapier: Triggers when you manually share a note to Zapier from the note sidebar.
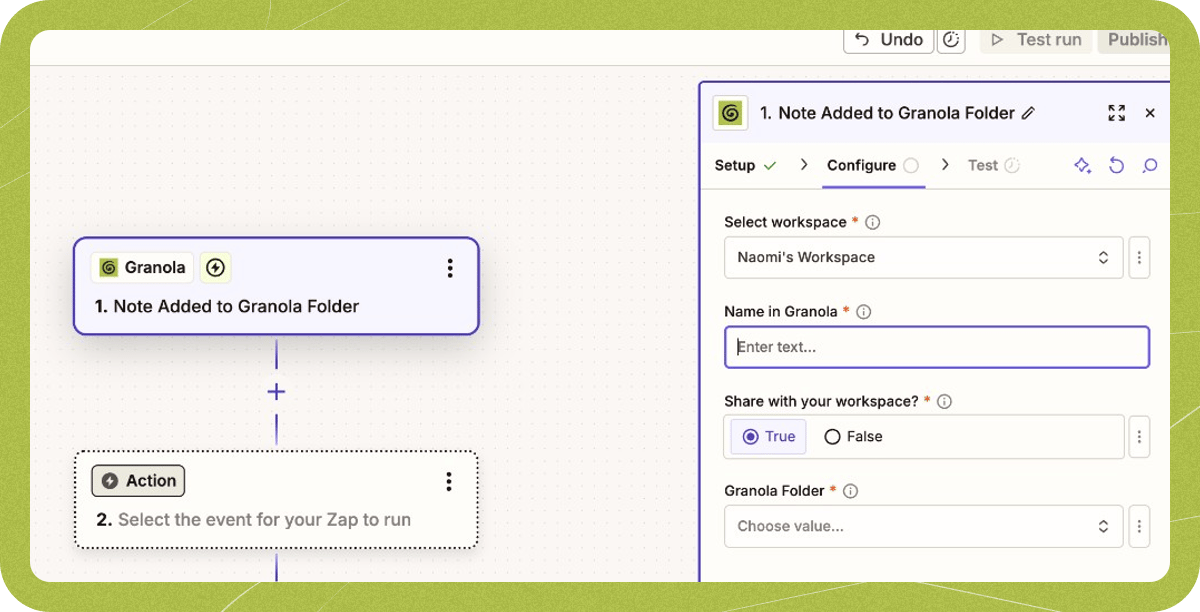
- Configure your integration
- Name in Granola: Give your integration a name, e.g. ‘Send actions to Linear’
- Share with your workspace: Choose whether your team can use this same Zap in Granola
- Granola Folder: Select which folder should trigger the automation (for folder triggers)
- Test your integration

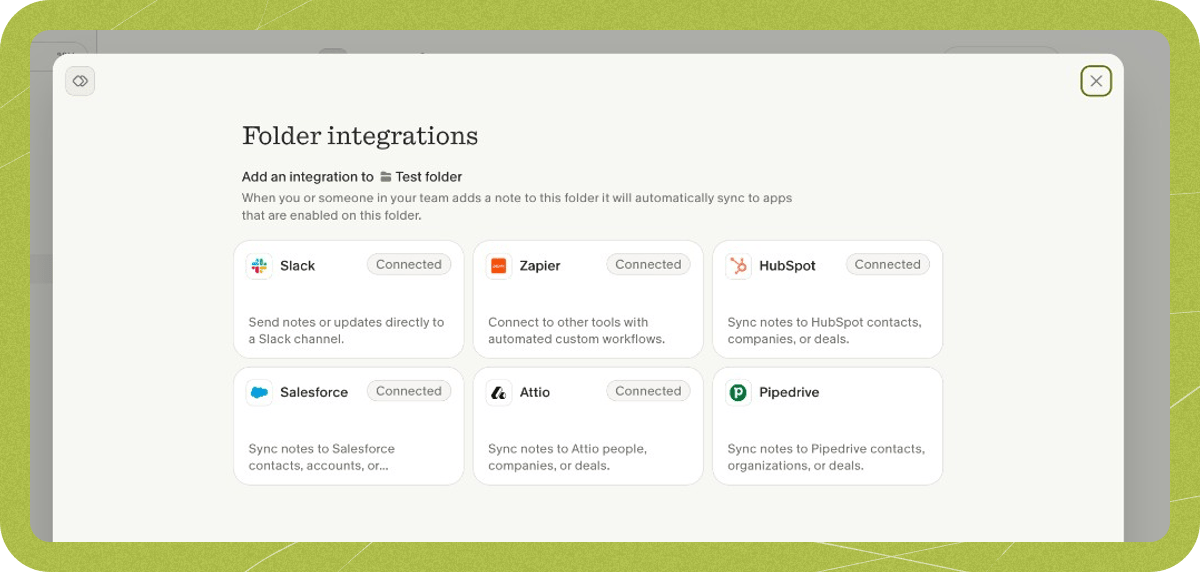
- Add your action apps
- Connecting with CRM systems (HubSpot, Salesforce, Attio) or ATS platforms (Greenhouse, BambooHR, Ashby)
- Sending messages via internal communications platforms (Slack, Microsoft Teams)
- Tracking actions (Asana, Trello, Monday, Linear)
- And thousands more from Zapier’s app directory
What data does Granola send to Zapier?
When a Zap is triggered, Granola sends a webhook payload containing the following data from your meeting note:- Title — The title of your meeting note.
- Creator — The name and email of the person who created the note.
- Attendees — A list of meeting attendees, each with a name and email address.
- Calendar event — Details from the linked calendar event, including the event title and date/time.
- My Notes — The private notes you typed during the meeting in Granola. These are the notes found under the personal notes section of your note (accessible via the three horizontal lines icon at the top right of a note). This field only contains your own notes and is not visible to other attendees.
- Summary — The enhanced summary of your meeting, in Markdown format.
- Transcript — The full meeting transcript.
- Link — A share link to the note in Granola.
You’re all set
Once your Zapier integration is set up, you’ll see your Zap available in your note sidebar. Clicking this will trigger your Zap: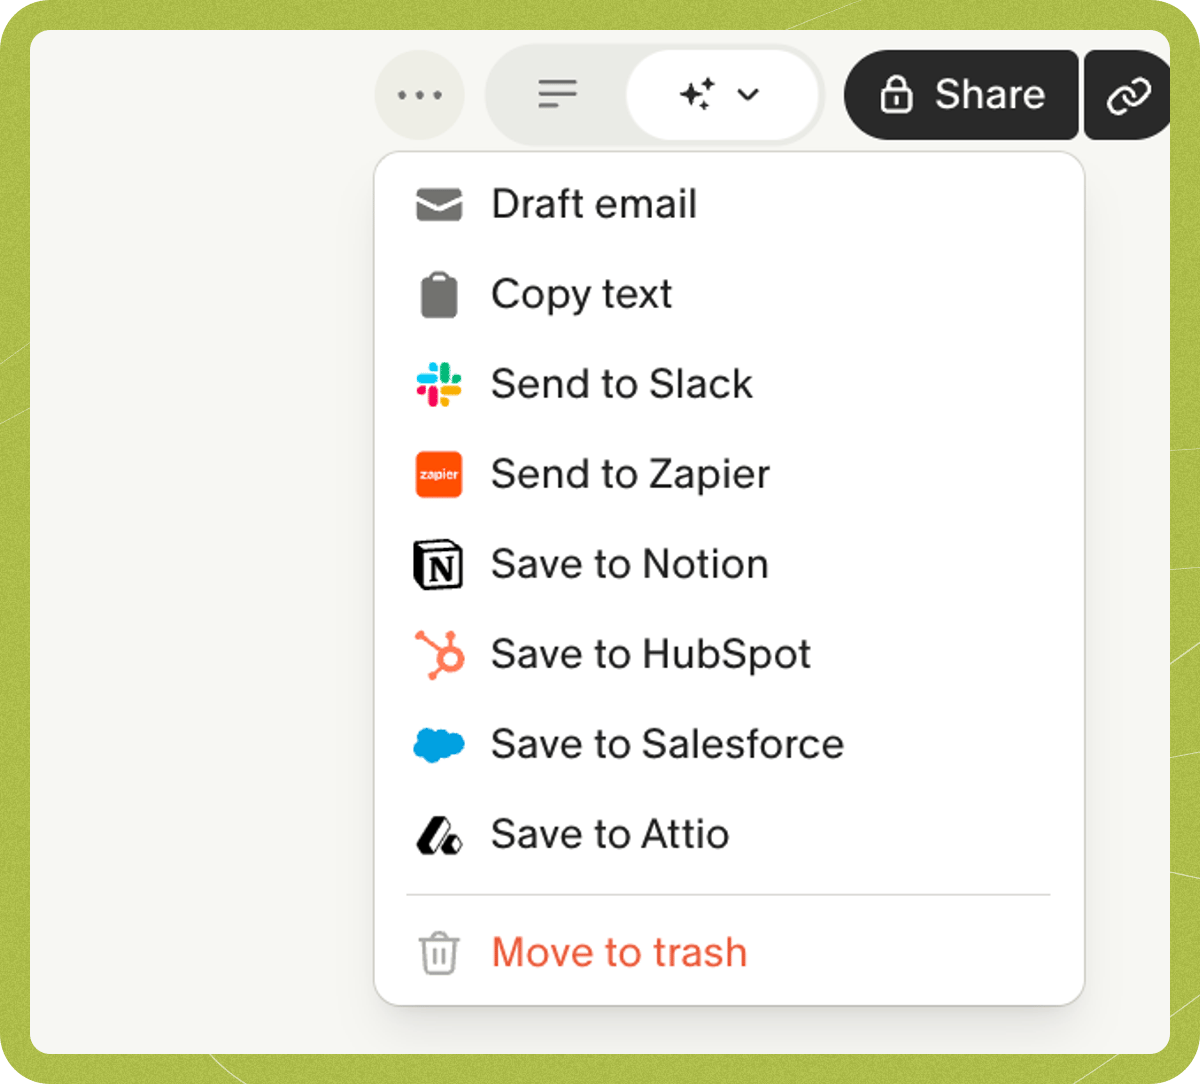
Need help or inspiration?
If you need any help setting up workflows within Zapier, take a look at their Help Center. Alternatively if you’re seeing something you don’t expect within Granola, reach out to us at hey@granola.so.Troubleshooting
Zapier sync stopped working
If your Zaps were previously working and have stopped, check the following at zapier.com:- Your Zaps are turned on. Zaps can be paused or turned off — make sure each Granola Zap is active.
- Reconnect the Granola trigger. If you recently deleted and recreated a Zap, or disconnected and reconnected the integration, open the Zap in the workflow editor and reconnect the Granola trigger.
- The correct workspace is selected. In each Zap’s trigger settings, confirm the right Granola workspace is selected.