

Requirements
- A Granola Enterprise plan.
- The latest version of Granola on macOS or Windows.
- A Salesforce admin to install Granola’s managed package. Granola guides you through this during setup, whether you’re the admin or need to hand it to one.
For Salesforce admins: install the Granola package
Install or update the Granola managed package
Install or update the Granola managed package
Install in Production
Install in Sandbox
Set up Salesforce for your workspace
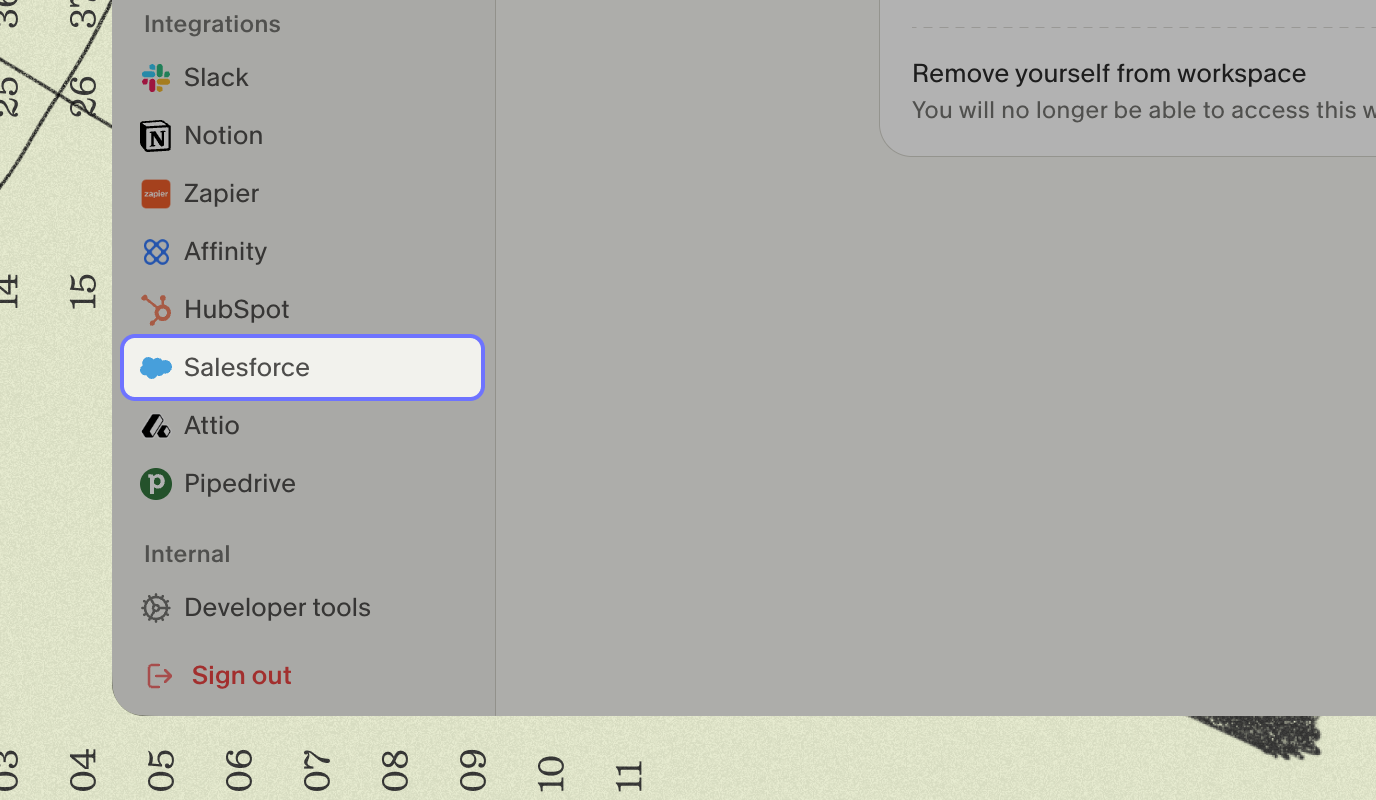
The first member to connect sets Salesforce up for the whole workspace. You don’t need to be a Granola admin, but the Salesforce side needs a Salesforce admin, either you or someone you send a setup link to.Open Salesforce in Granola's settings
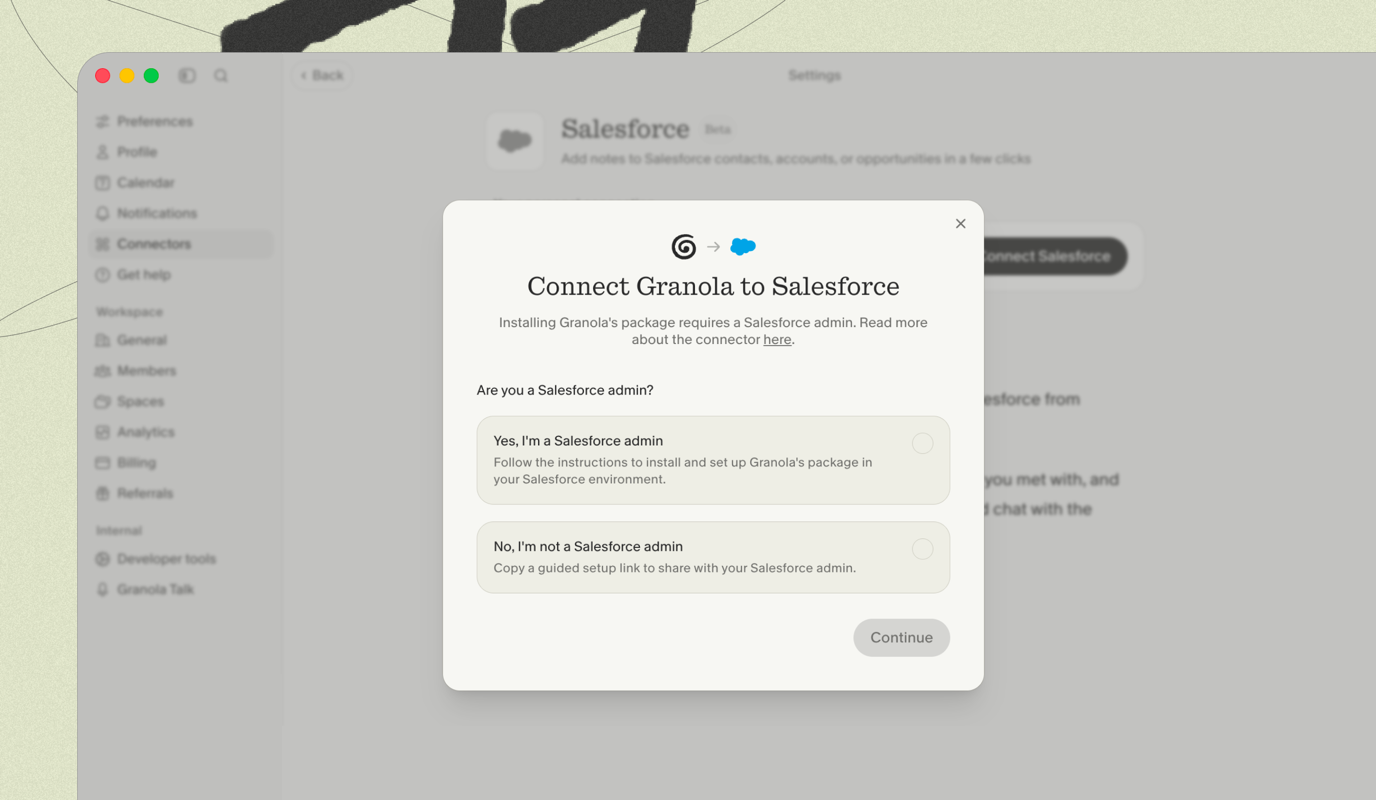
Follow the setup steps
Connect your account
Choose what gets sent
Connect your account
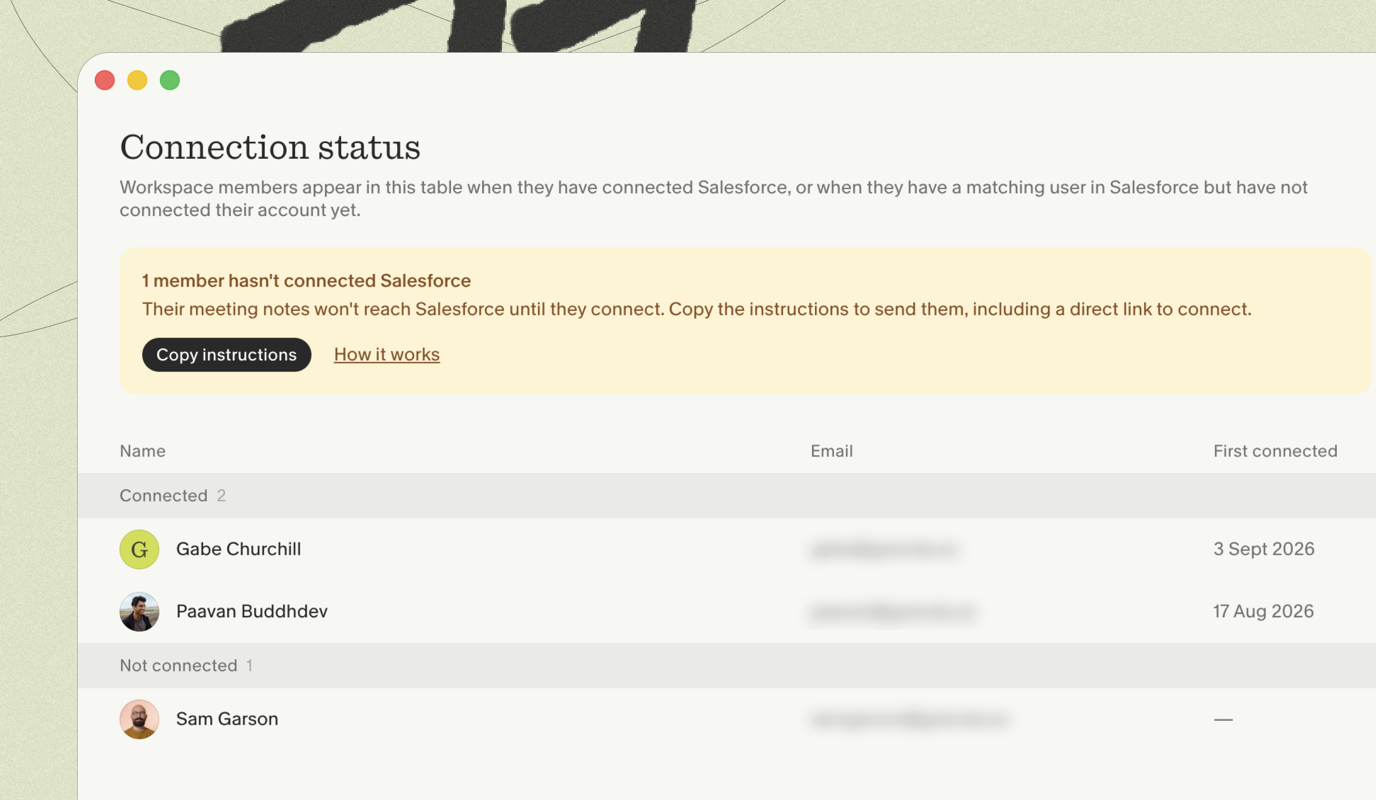
Once the workspace is set up, each member connects their own Salesforce account from Settings → Connectors → Salesforce. Connecting your individual account is necessary for context to be shared to Salesforce, but any notes added to folders with the Salesforce integration configured will be backfilled to Salesforce once the owner’s account is connected. Granola prompts members who haven’t connected yet. Members whose Granola email matches a user in the workspace’s Salesforce org see a prompt on the home screen, and members with notes that aren’t reaching Salesforce are prompted from within those notes and folders. The prompts disappear once you connect.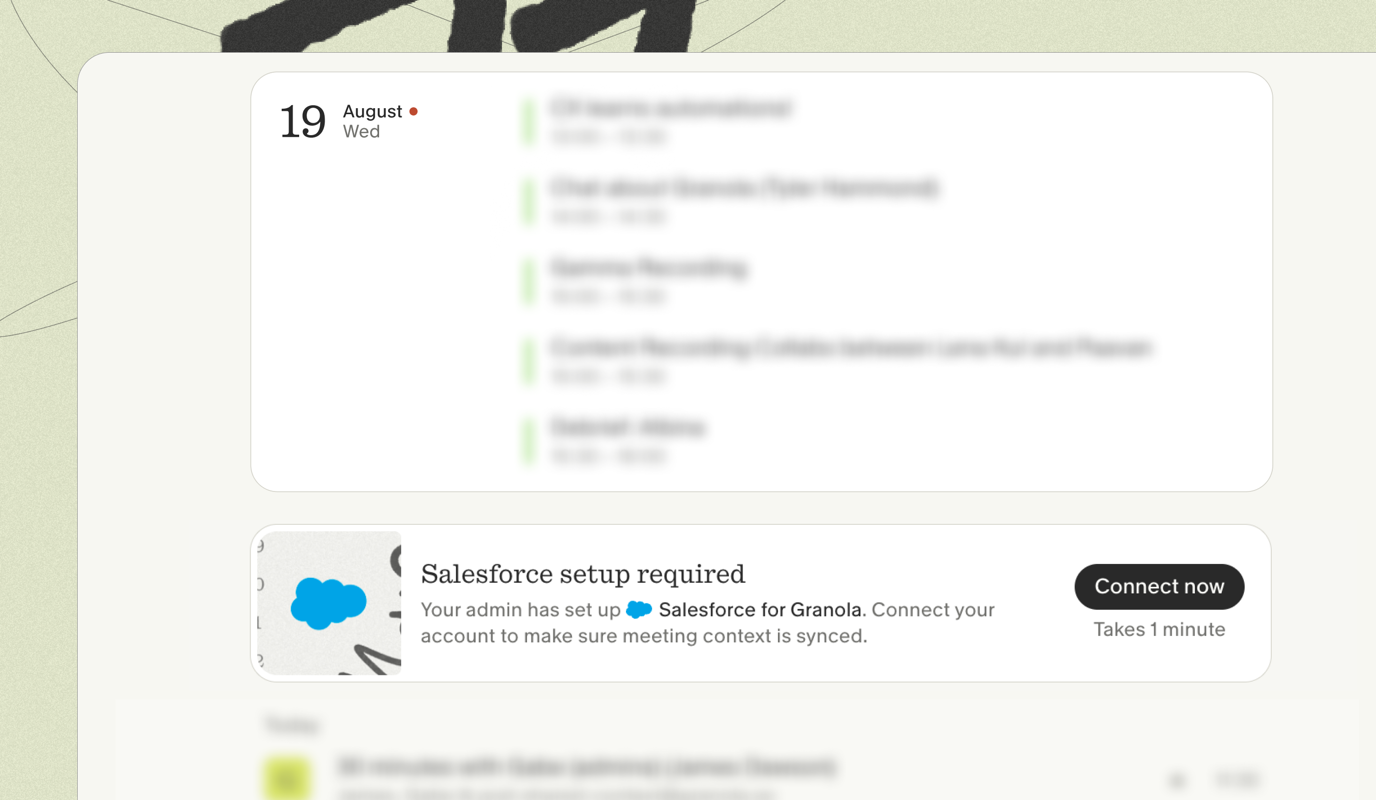 Admins can view which workspace members have and haven’t connected their Salesforce accounts by navigating to the Salesforce connector settings page and viewing “Connection status” analytics.
Configuration
All settings live in Settings → Connectors → Salesforce in Granola. Your own connection sits at the top. The workspace settings below it apply to every note the workspace sends and can be changed by workspace admins and by the person who set Salesforce up.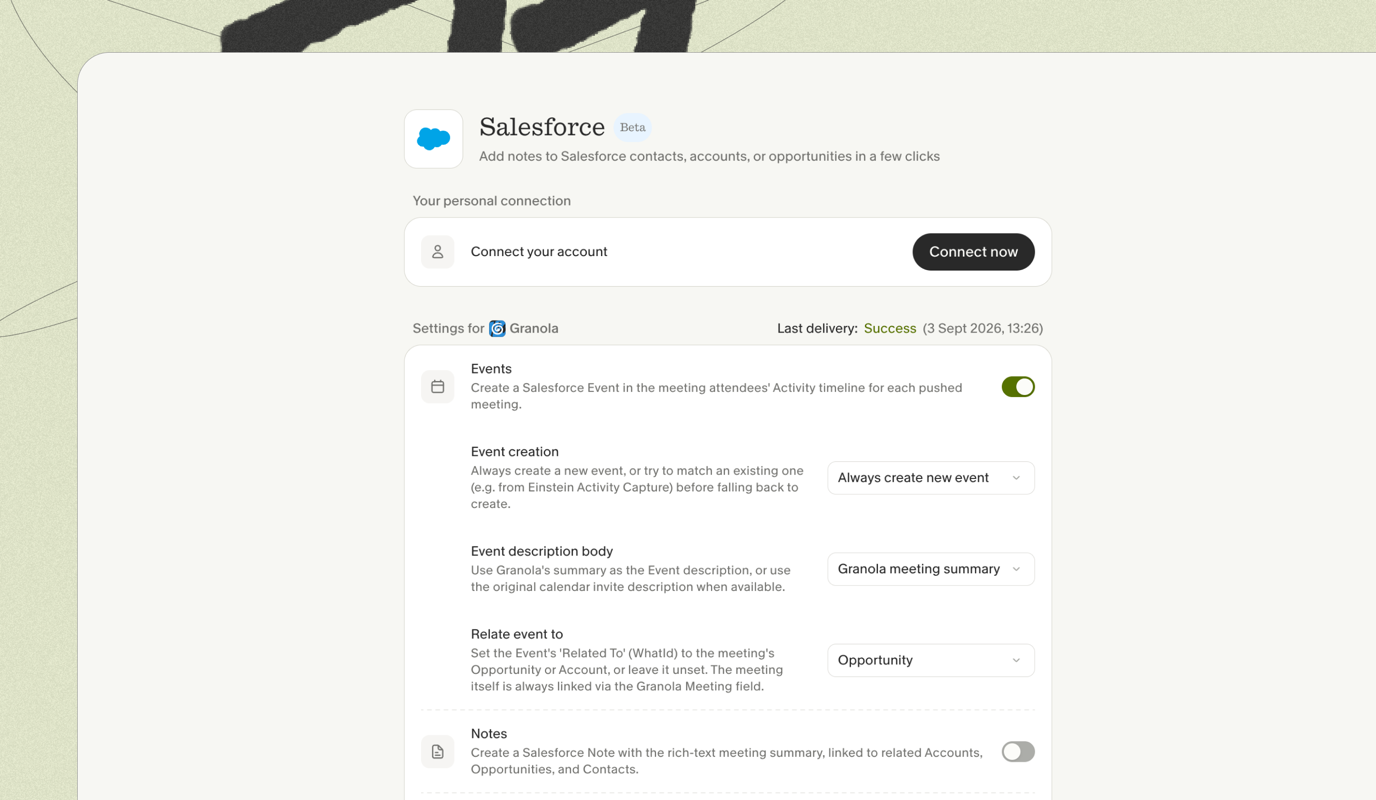 Three top-level toggles control what Granola creates in Salesforce for each pushed meeting. Each can be enabled independently; the Events toggle reveals two sub-settings when on.
Events: create a Salesforce Event in the attendees' Activity timeline
Events: create a Salesforce Event in the attendees' Activity timeline
- Always create new event (default): Granola POSTs a new Event for every pushed meeting.
- Match existing event, then fall back to create: Granola first looks for an existing Event with the same meeting title and start time. If there are multiple possible matches, Granola uses Salesforce ownership to narrow the match. If it can’t find exactly one match, Granola creates a new Event. Use this alongside Einstein Activity Capture (EAC) so Granola doesn’t duplicate the Activity EAC already synced.
- Granola meeting summary (default): uses Granola’s AI-generated plain-text meeting summary, with a backlink to the Granola note appended at the bottom.
- Calendar event description: uses the description text from the original calendar invite, again with a Granola backlink appended. If the meeting has no calendar event or the calendar description is empty, Granola leaves the Event Description blank (apart from the backlink). It doesn’t silently substitute the meeting summary, since you’ve explicitly opted into the calendar invite text.
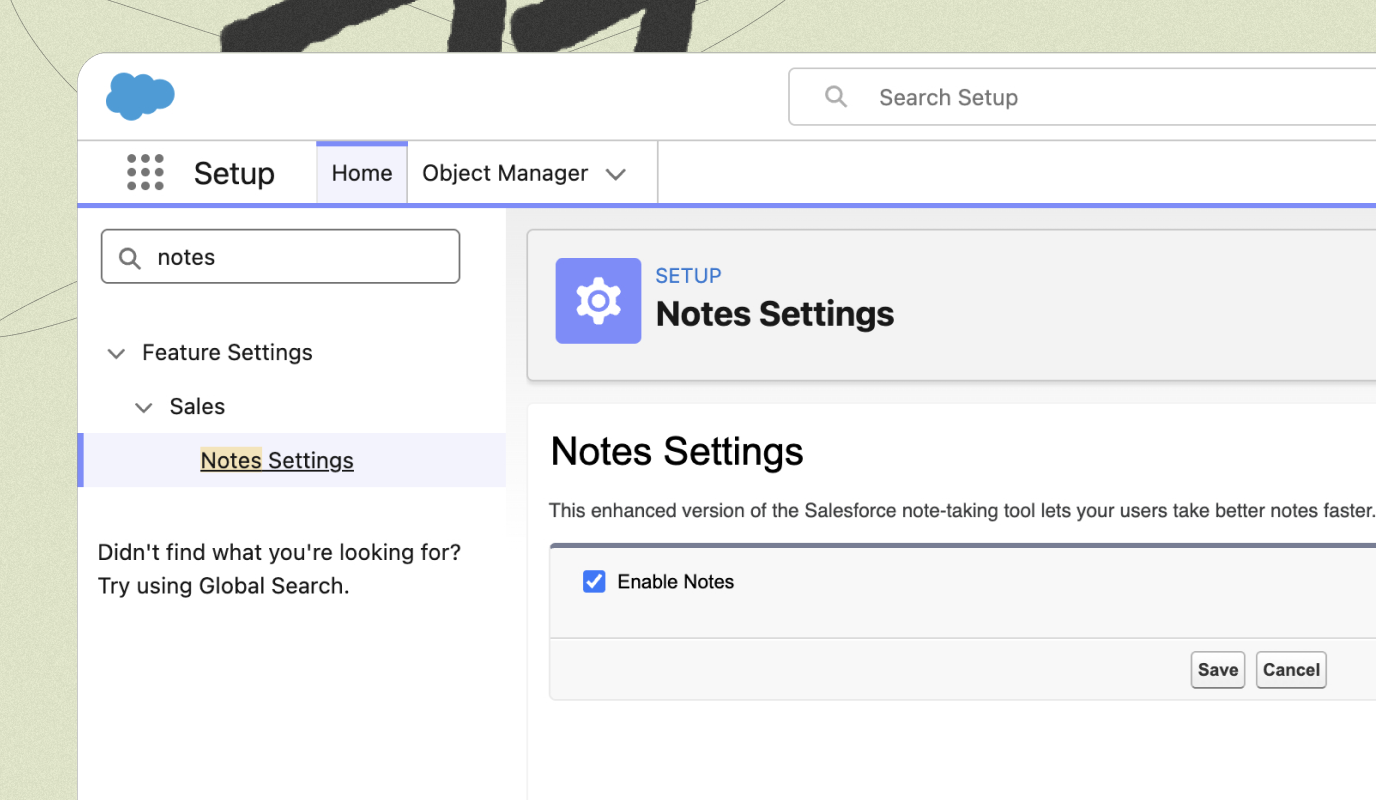
Notes: create a Salesforce Note (rich text)
Notes: create a Salesforce Note (rich text)
Custom objects: create a Granola Meeting record
Custom objects: create a Granola Meeting record
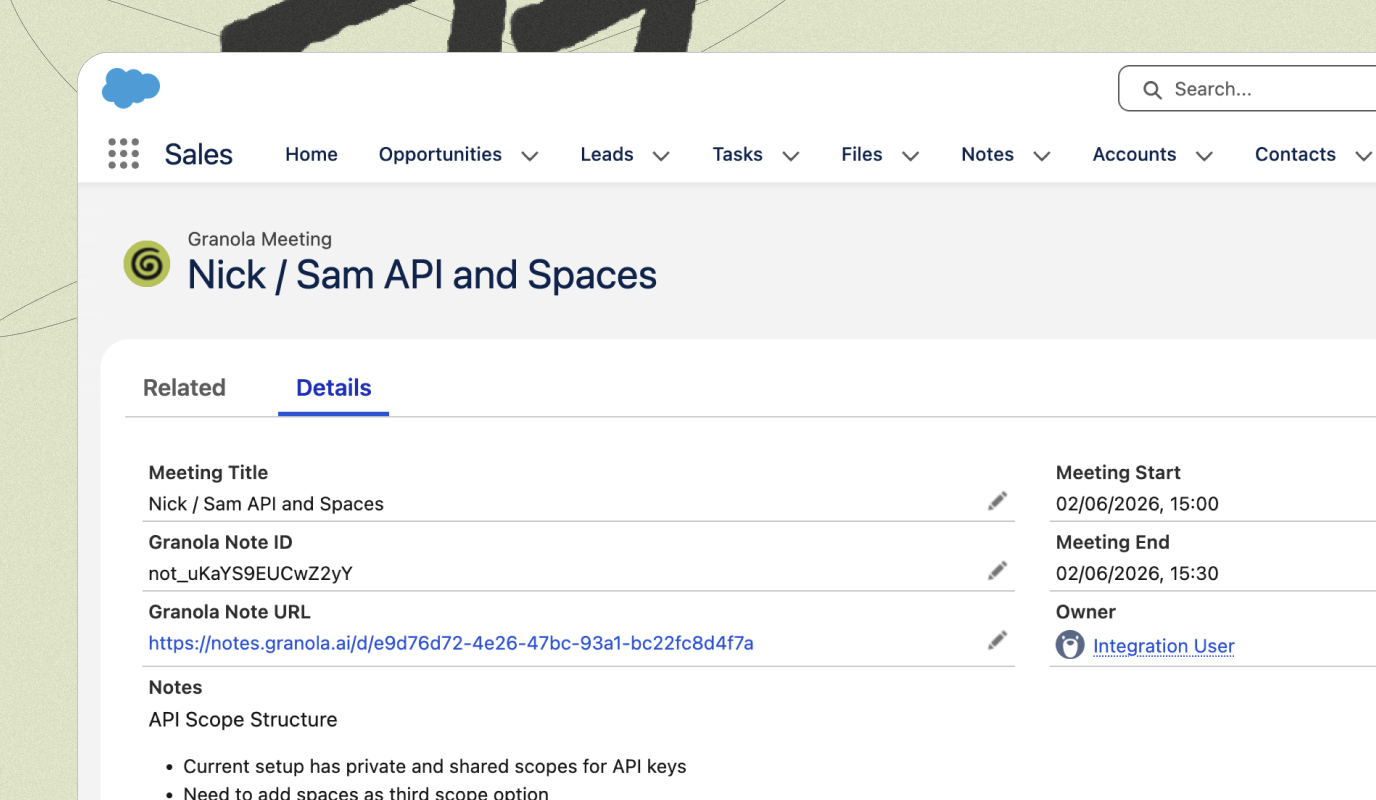 When enabled, Granola creates a record on the Granola Meeting custom object (
granola__Meeting__c) for each pushed meeting, with structured fields and lookups to related records.Before enabling: assign the Granola Meeting Access permission setThe package ships with a permission set called Granola Meeting Access that grants permission to create Granola Meeting records and their junctions. Assign it to every Salesforce user whose Granola connection will create these records:In Salesforce: Setup → Permission Sets → Granola Meeting Access → Manage Assignments → Add Assignment → pick the user.What gets createdA Granola Meeting record with:- Name: the meeting title
- Granola Note ID: the Granola public note ID (used as the External ID for upserts, so re-pushing a meeting updates the same record)
- Granola Note URL: a link back to the note in Granola
- Notes: rich-text version of the meeting summary
- Meeting Start / Meeting End: the meeting’s time window
WhatId points at the Granola Meeting record instead of an Opportunity or Account. This anchors the Event under the Meeting’s Activity History related list, giving you a single record where all meeting-related context (notes, activities, attendees, deals) is centralized.Surfacing meetings on standard recordsTo see Granola Meeting links on Account, Opportunity, or Contact pages, admins add the “Granola Meeting Links” related list to those page layouts:- Setup → Object Manager → Account (or Opportunity / Contact) → Page Layouts → click the active layout.
- From the panel at the top, click Related Lists.
- Drag Granola Meeting Links into the related lists section.
- (Recommended) Click the wrench icon on the related list, add the Meeting field as a column so users can click straight through to the Granola Meeting record.
- Save.
Sharing notes to Salesforce
When you share a meeting to Salesforce, Granola creates whichever records are enabled on the connection being used: an Event in the Activity timeline (if Events is on), a rich-text Note (if Notes is on), and/or a Granola Meeting custom object record (if Custom objects is on). Each links to the relevant Contacts, Accounts, and Opportunities based on matched attendees. See How Granola matches Salesforce records below.Auto-sharing notes from folders and Spaces
Auto-sharing notes from folders and Spaces
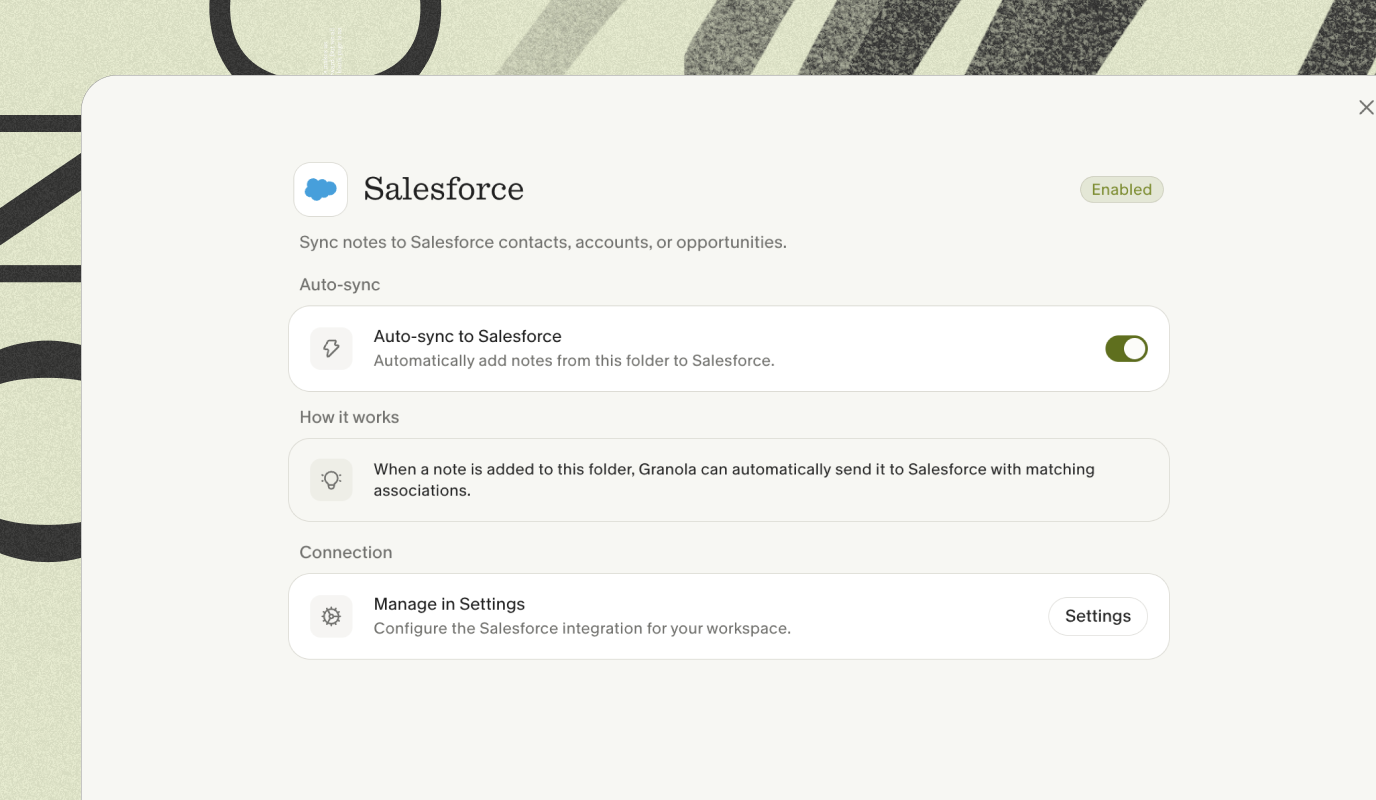 Each note is sent using its owner’s Salesforce account. If the owner hasn’t connected yet, Granola prompts them, and syncs their notes once they do.
- Granola sends Alex’s note using Alex’s Salesforce account and permissions.
- If Alex hasn’t connected, the note waits. Alex is prompted to connect, and the note syncs once they do.
- If Taylor disconnects, the folder keeps syncing for everyone else.
- Folder-level integrations apply only to that folder. They do not carry down to subfolders.
- Space-level integrations apply to every folder in that Space.
- If a folder has its own Salesforce integration and its Space also has Salesforce enabled, the folder’s own Salesforce settings take priority.
- Rare edge case: if a folder has one integration and the Space has a different integration, both can run.
How Granola matches Salesforce records
Before searching, Granola filters the meeting attendees down to external contacts:- The Granola user associated with the share is excluded.
- Any attendee whose email domain matches that user’s email domain is excluded. This stops Granola from accidentally matching their own company in Salesforce and pulling in every Account, Contact, and Opportunity tied to it.
- This domain filter is skipped if that user is on a generic email domain (e.g.
@gmail.com,@outlook.com), where domain doesn’t reliably indicate “my company”.
- Contacts: matched by attendee email against the Contact’s
Emailfield. - Accounts: matched by attendee email domain against the Account’s
Websitefield. - Opportunities: matched as open Opportunities (where
IsClosed = false) belonging to any of the Accounts found above. This includes both Accounts matched directly by domain and the Accounts that matched Contacts belong to (via the Contact’sAccountId).
Linking the Event (if Events is enabled)
Linking the Event (if Events is enabled)
WhatId) and one named-to record (WhoId). When Granola is creating a new Event:- Related To (
WhatId): if Custom objects is also on, this points at the Granola Meeting record itself. Otherwise, it’s the most recently created or updated open Opportunity from the matches; if no Opportunity matches, Granola falls back to the first matched Account. - Name (
WhoId): the first matched Contact.
Linking the Note (if Notes is enabled)
Linking the Note (if Notes is enabled)
- The Event (if Events is also on)
- Every matched Contact, Account, and Opportunity
Linking the Granola Meeting record (if Custom objects is enabled)
Linking the Granola Meeting record (if Custom objects is enabled)
{meeting title} [{related record name}], so it reads meaningfully wherever it appears (related lists, search results, reports).Matched-event details
Matched-event details
- Granola first looks for Events with the same meeting title and start time.
- If more than one Event could match, Granola uses Salesforce ownership as a tiebreaker.
- If Granola can’t narrow the match to one Event, it creates a new Event instead.
- Granola doesn’t edit the matched Event’s title, description, time, owner, or attendees. If Custom objects are enabled, it only links the Event to the Granola Meeting record.
Troubleshooting
I was told the Granola package needs updating
I was told the Granola package needs updating
Salesforce says setup is required, but a teammate already set it up
Salesforce says setup is required, but a teammate already set it up
Salesforce shows as coming soon
Salesforce shows as coming soon
Salesforce refused my sign-in
Salesforce refused my sign-in
My setup link has expired
My setup link has expired
I can't change Salesforce auto-sync for a folder or Space
I can't change Salesforce auto-sync for a folder or Space
The "Save to Salesforce" option is greyed out on my note
The "Save to Salesforce" option is greyed out on my note
Notes from a folder aren't appearing in Salesforce
Notes from a folder aren't appearing in Salesforce
Granola Meeting record creation fails with "managed package not installed"
Granola Meeting record creation fails with "managed package not installed"
granola__Meeting__c object in your org. Either:- The managed package isn’t installed → a Salesforce admin needs to install it. See the admin section above.
- The package is installed but the connected user can’t see it → assign the Granola Meeting Access permission set to that user (Setup → Permission Sets → Granola Meeting Access → Manage Assignments).