

Introduction
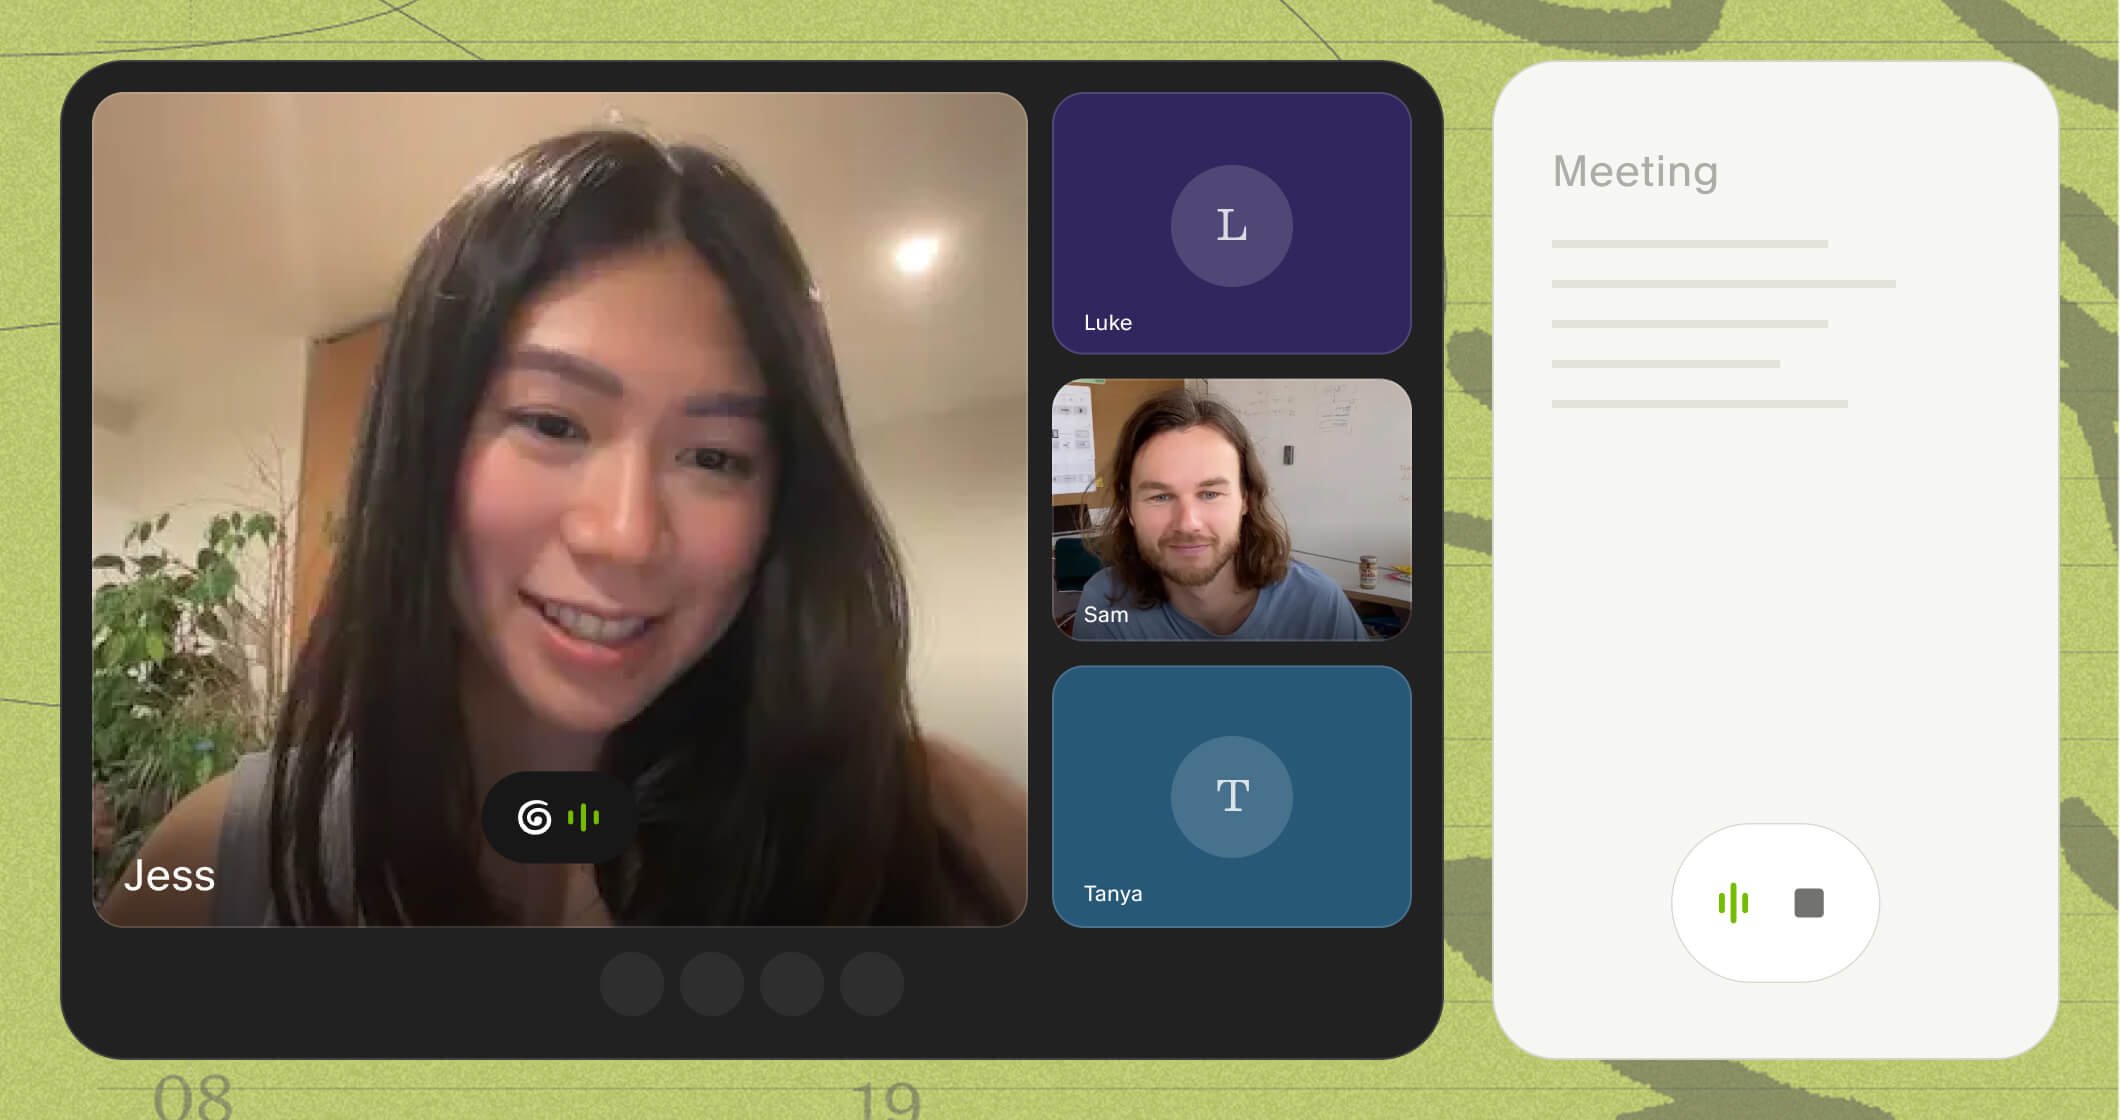
Granola gives you two transparency features to make it clear to meeting participants that notes are being captured. You can enable one or both, just for yourself or across your team — see how to set them up. The first option is an automated chat message: Granola posts a message in your meeting chat when it starts transcribing to let everyone know. It’s quick, automatic, and visible without interrupting the flow of conversation.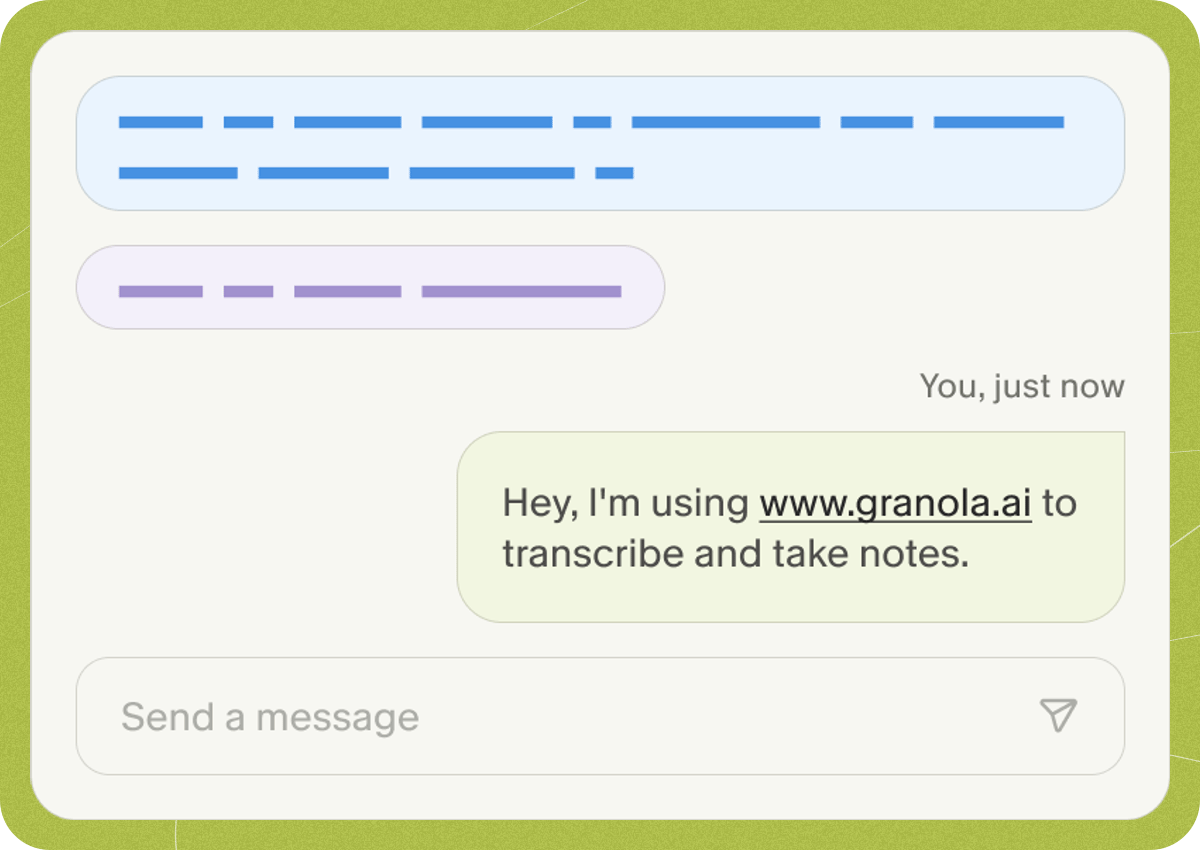
How to set up transparency features for your team
Use the links below to see how to enable the features for yourself and/or your team if you are an admin.Set this up as a user
Enable transparency features just for yourself.
Set this up as an admin
Enable transparency features for everyone in your workspace.